Landscape edging serves as a defining line between your garden beds and the rest of your yard. Whether you aim for aesthetics or functionality, proper edging can elevate the entire look of your garden. Let’s embark on a DIY journey to create stunning landscape edging for your garden.
1. What is Landscape Edging?
Landscape edging, often referred to as garden edging or border edging, is the practice of creating a distinct boundary between different sections of your yard or garden. This boundary can be between a lawn and a garden bed, a patio and a flowerbed, or any other adjacent areas. The primary purposes of landscape edging are to:
- Maintain clear divisions between different sections.
- Prevent the spread of grass or weeds into garden beds.
- Enhance the overall aesthetic appeal of the landscape.
Edging materials can vary and include wood, stone, metal, plastic, brick, and even plants.
2. Can You DIY Your Own Landscape?
Absolutely! Many homeowners take pride in designing and implementing their own landscapes. Here's a simplified guide:
- Plan: Start with a rough sketch of your space. Decide on the primary features you want, such as flowerbeds, patios, pathways, or water features.
- Research: Understand the plants suitable for your climate and soil type.
- Budget: Determine your budget which will help in selecting materials and plants.
- Implement: Begin with larger projects like patios or decks and then move to planting beds and other features.
- Maintain: Regular maintenance like watering, weeding, and pruning is crucial to keep your landscape thriving.
While DIYing can be rewarding, it requires effort, research, and patience. Ensure you're prepared for the commitment.
3. When Should You Hire Professional Gardeners Over Doing it Yourself?
Hiring professional gardeners or landscapers might be a better option when:
- Complex Projects: If your landscape design is intricate, with features like retaining walls, ponds, or irrigation systems.
- Heavy Work: Projects that involve heavy machinery or labor-intensive tasks.
- Lack of Knowledge: If you’re unsure about plant selection, soil types, or other crucial elements.
- Limited Time: If you don’t have the time to dedicate to planning, implementing, and maintaining.
- Budget: Sometimes, hiring professionals can be more cost-effective in the long run, especially if mistakes made during a DIY could be expensive to rectify.
4. How Does Water Affect Landscape Edging?
Water plays a significant role in the durability and effectiveness of landscape edging:
- Erosion: Without proper edging, water runoff can lead to soil erosion from garden beds.
- Pooling: Edging can sometimes unintentionally direct or trap water, leading to pooling or soggy areas, which could damage plants or create a breeding ground for pests.
- Material Durability: Water can degrade certain edging materials. For instance, wooden edging might rot, while some metals might rust.
- Weed Barrier: Edging helps prevent water from carrying weed seeds into your garden beds.
- Consideration in Material Choice: If an area is prone to excessive moisture or water exposure, it's important to choose edging materials that are water-resistant or designed for such conditions.
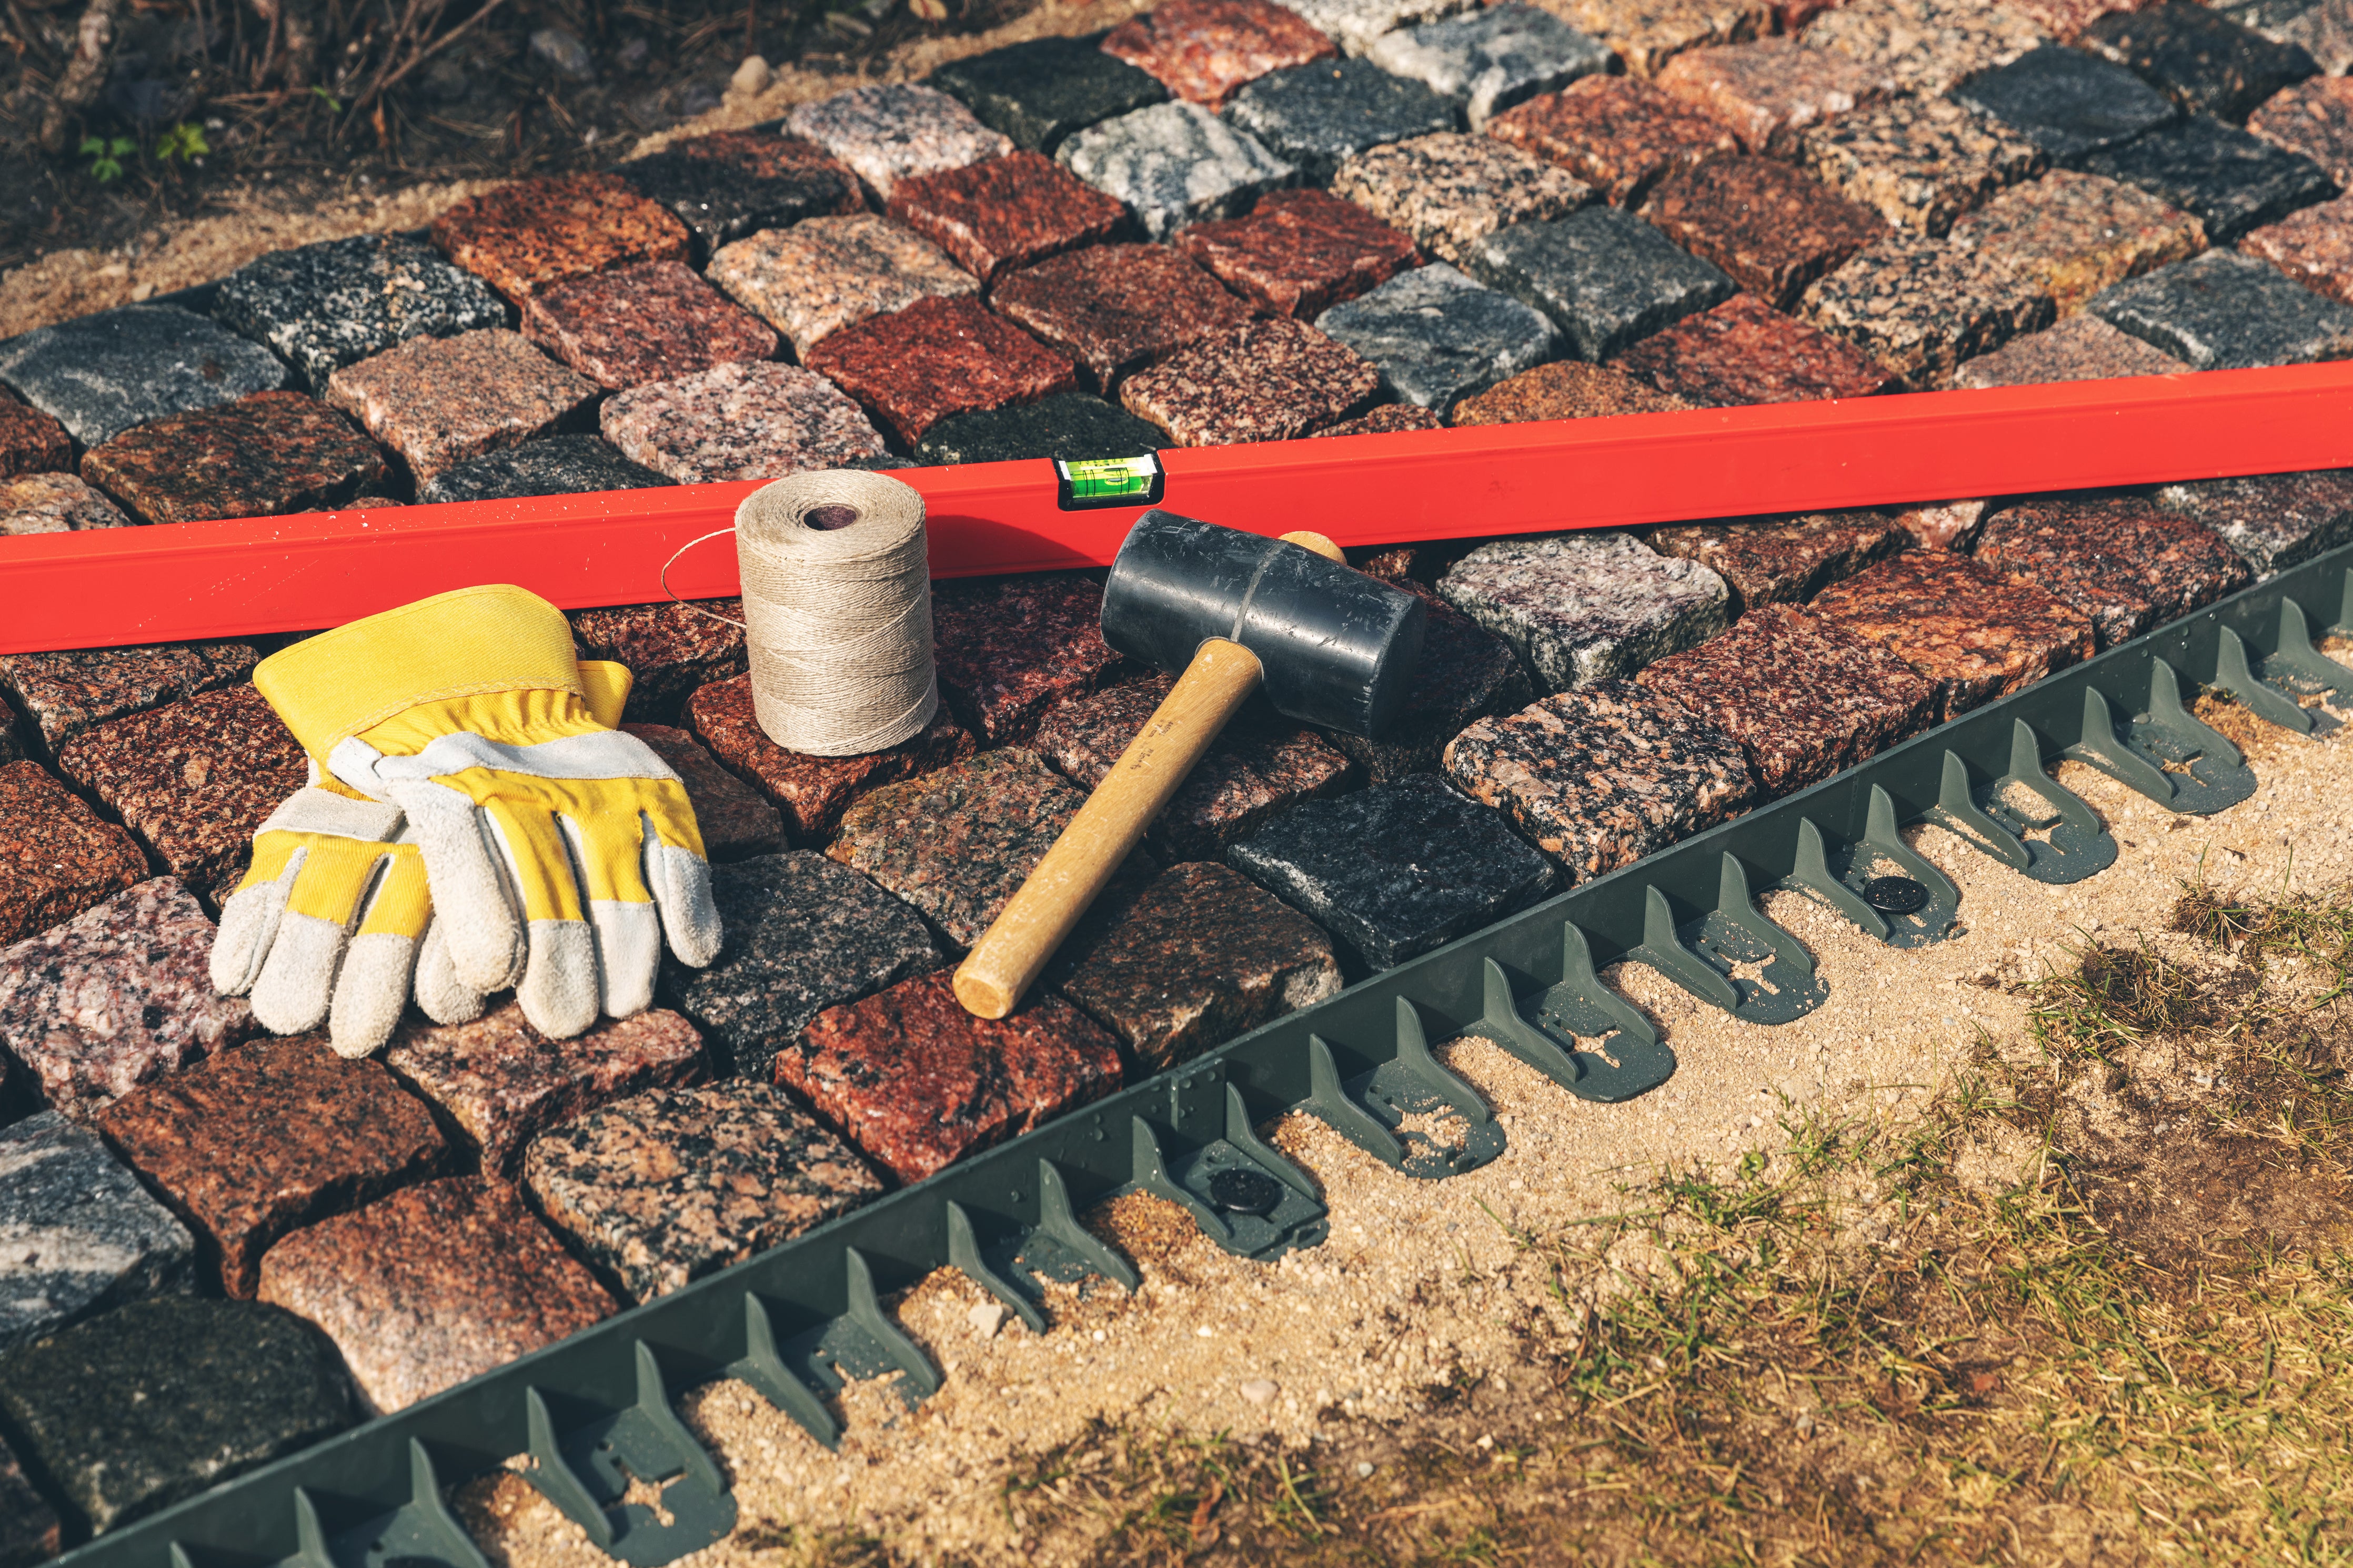
Materials and Tools Required:
- Edging material (choices include metal, stone, plastic, brick, or wood)
- Stakes or pegs (to mark out your area)
- String or marking paint
- Garden spade or edging tool
- Rubber mallet
- Gardening gloves
- Level (for maintaining evenness)
Safety Precautions:
- Always wear gloves to protect your hands.
- Ensure you're working during daylight or in well-lit conditions.
- Watch out for hidden objects or utilities underground before digging.
Step-by-Step Guide:
- Design and Mark: Begin by marking the area where you want the edging to go. You can use stakes at intervals with a string stretched between them or use marking paint. This will help in visualizing the layout.
- Choosing Edging Material: Consider the look you’re aiming for. Natural stones or bricks offer a timeless look, while metals and plastics can provide a sleeker, more modern appearance.
- Prepare the Ground: Using the garden spade or edging tool, dig a trench along your marked line. The trench should be as deep as half the height of your chosen edging material, ensuring it will stand firm when placed.
- Install the Edging: Starting at one end, place your edging material into the trench. If using bricks or stones, make sure they fit snugly against each other. Use the rubber mallet to gently tap them into place.
- Ensure Evenness: As you lay down the edging, regularly check with a level to ensure it’s even. An uneven edge can lead to instability and an unsightly appearance.
- Backfill: Once the edging is in place, backfill the trench with soil or mulch. This helps secure the edging and provides a clean look.
- Final Touches: Clean off any excess soil or debris from your edging. Consider planting flowers or adding mulch to the adjacent garden beds for a polished look.
Common Mistakes to Avoid:
- Overlooking Curves: If your design has curves, make sure your edging material is flexible enough or can be cut to fit the curves.
- Ignoring Drainage: Ensure your garden bed has adequate drainage. Edging can sometimes act as a barrier, causing water to pool.
- Choosing Low-Quality Materials: While saving money is tempting, opting for higher-quality materials ensures your edging lasts longer and remains attractive.
Pros of Lawn Edging:
- Clear Boundaries: Edging clearly defines spaces, such as between lawns, flower beds, paths, and other garden features. This makes the garden look organized and aesthetically appealing.
- Prevents Overgrowth: Proper edging can prevent grass from growing into garden beds, and conversely, it can keep mulch or soil from spilling onto the lawn.
- Easier Maintenance: Edging can make mowing and trimming easier, as you have a clear line to follow, reducing the chance of damaging plants adjacent to the lawn.
- Erosion Control: It can help prevent soil erosion, especially in raised beds, by acting as a barrier against runoff.
- Increased Property Value: A well-maintained and aesthetically pleasing landscape can add to the overall value of a property.
Cons of Lawn Edging:
- Installation Time and Effort: Depending on the type of edging and the size of the garden, installation can be labor-intensive.
- Maintenance: Over time, some edging materials may decay, rust, or become displaced, requiring maintenance or replacement.
- Cost: While there are affordable edging options, some materials and professional installations can be expensive.
- Potential for Damage: Improperly installed or low-quality edging might get damaged easily by lawn mowers or foot traffic.
- Aesthetic Considerations: Not everyone likes the look of certain edging materials. It's essential to choose something that complements the overall design of the garden.
Conclusion
Landscape edging can be a weekend project that adds a professional touch to your garden. By following these steps and avoiding common pitfalls, you can achieve a garden that is not only functional but also a sight to behold.
Remember, the beauty of a DIY project lies in the personal touch you bring to it. Enjoy the process and watch your garden transform!


