You don’t have to wait until the temperatures warm up and the sun starts shining to garden - why not build a garden indoors! Indoor gardening is easier than you might imagine, and you can grow just about any plant your heart desires. From hot peppers, to fresh herbs, to cannabis, the world is your oyster.

Before plopping a seedling on your window sill, breeze through this beginners guide to indoor gardening. Moving beyond the window sill into a designated space, will boost yields, speed up the time to harvest and improve overall plant health.
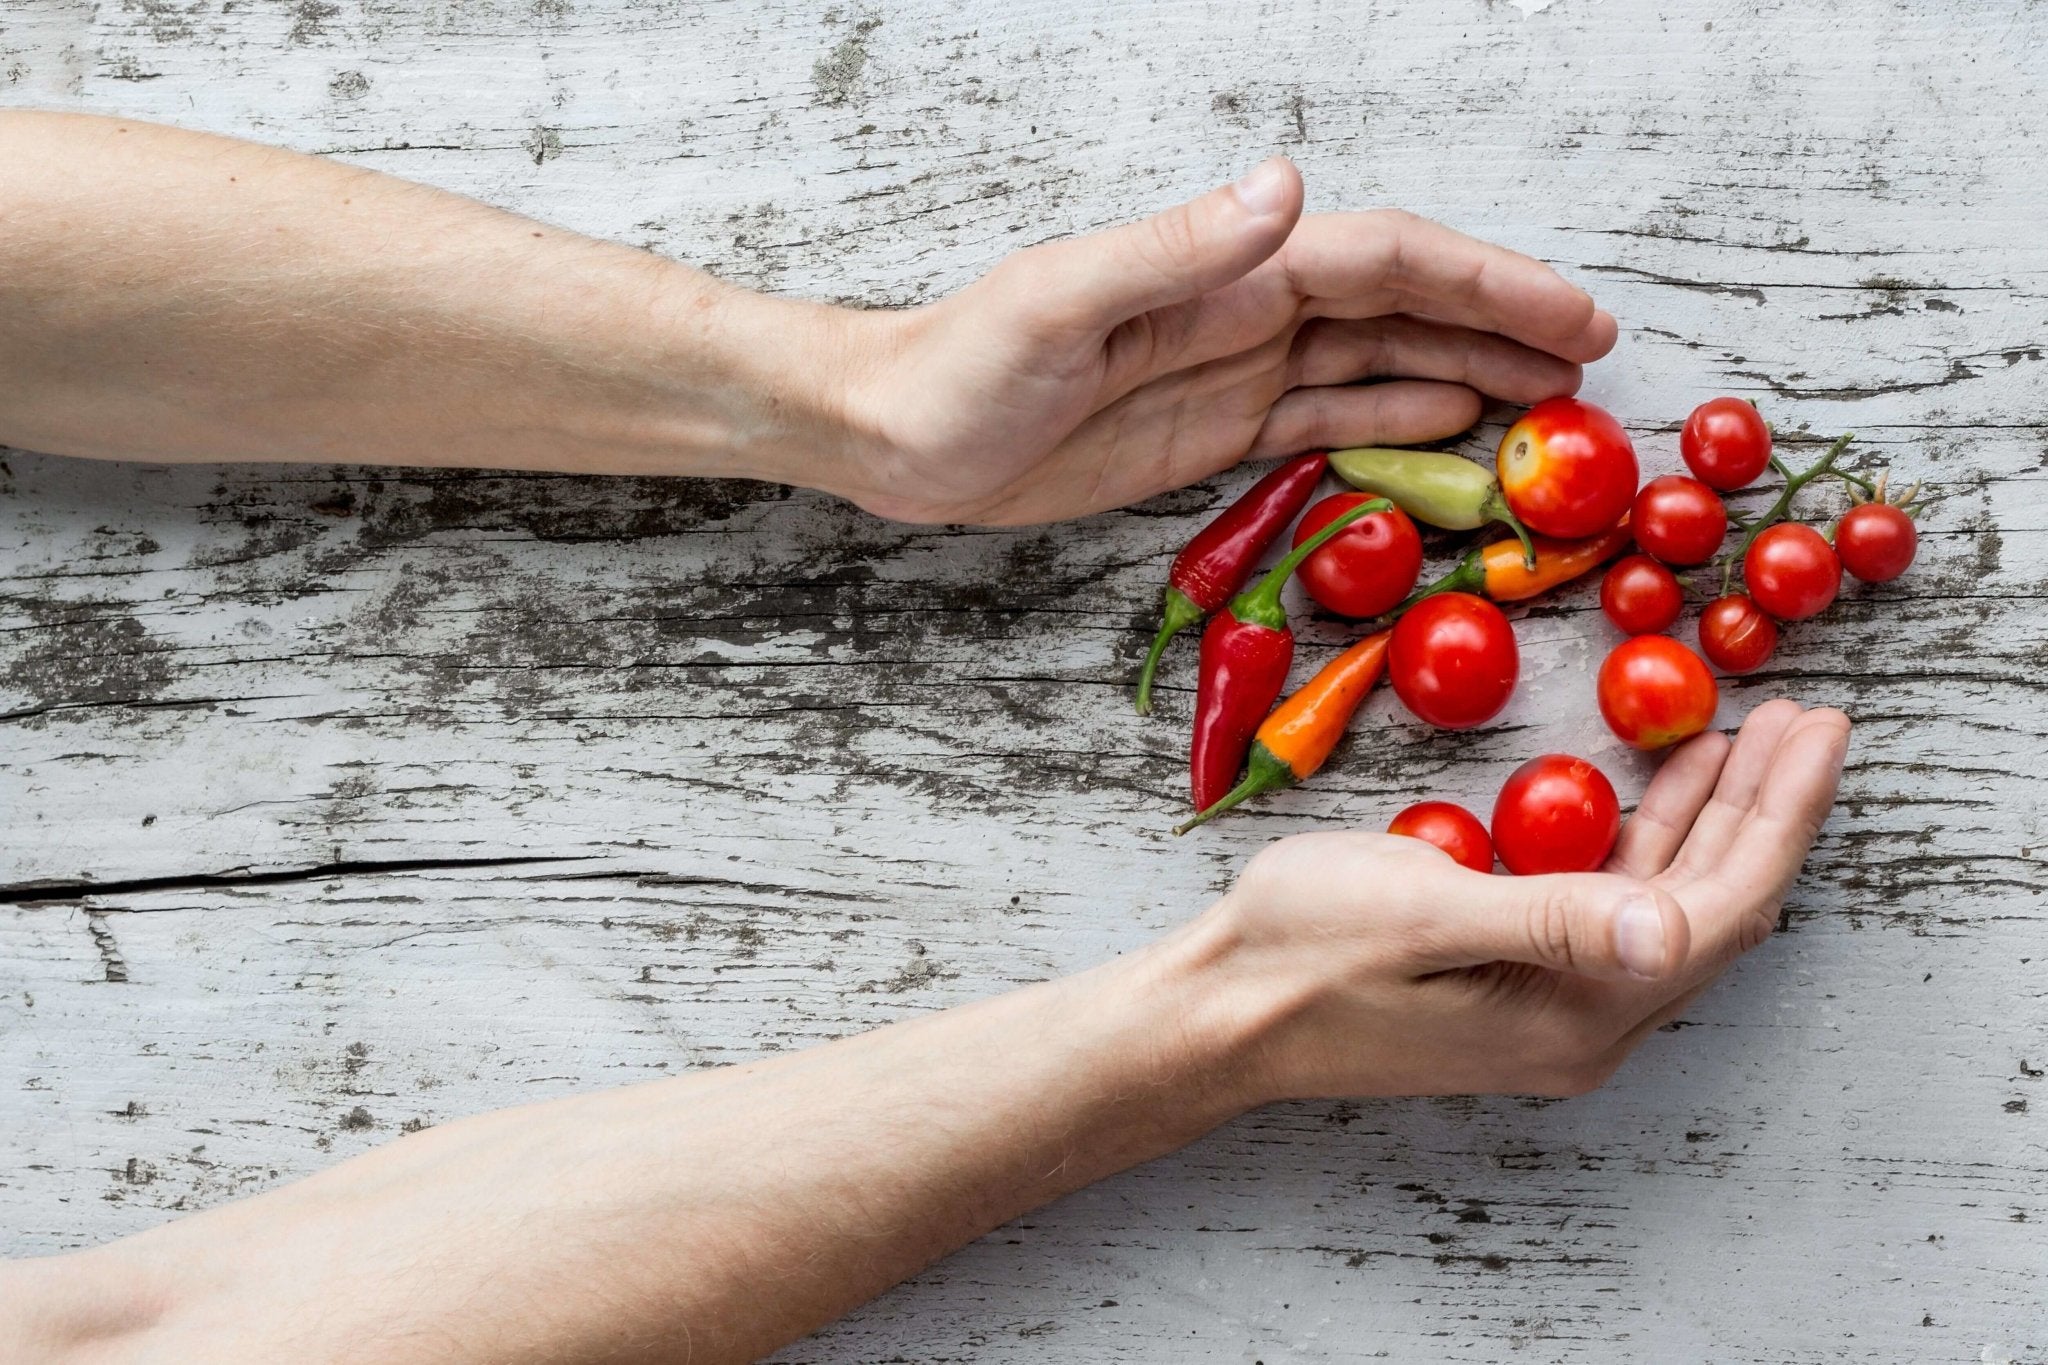
Ready? Let’s get this indoor gardening underway!

Step 1: Choose Your Crop & Evaluate
Before digging into the joys of home-cultivation, beginner gardeners (like yourself) need to work out what they want to grow. Do you want to grow tomatoes all winter long or produce a never ending supply of leafy greens? Maybe you want to grow your own medicine or cultivate an indoor herb garden. The beauty of indoor gardening is the sheer number of options. With the right approach and an eagerness to learn, you have the capacity to grow just about anything.
Lettuces and tomatoes are popular choices for the beginner gardener, but they also have very different growing needs. You’ll need to do a little research before building the space, buying the supplies, and popping the seeds in the soil. If this is your first attempt at indoor gardening, plan for a single crop for simplicity's sake. If you want a bit more variety, maybe a few different variations of that crop - mustard greens and a baby lettuce blend for example.
Focusing your energy on one type of plant is less confusing and makes the learning curve more bearable. Once you’ve got a handle on the basic elements of indoor growing and a harvest or two under your belt, you’ll be prepared to expand into other varieties.
But where to get started? Head to the library, open Google, ask Siri... whatever approach works for you. Below are a few key questions to ask, followed by a few examples of common indoor crops.
- Tomatoes: Tomatoes need approximately 2 ft x 2 ft x 4 ft for two small plants to flourish. To thrive, tomatoes require over 12 hours of light a day and will do best under lighting fixtures. Keep the temperature around 72-80 °F (22 -26 °C). As for nutrients, there are tomato specific options, but a well-balanced fertilizer will also do the trick.
- Cannabis: A few cannabis plants require a larger space, roughly the size of a closet-size (4 ft x 4 ft x 6 ft). Although some people make due in smaller areas it cannot thrive on a window sill and will need artificial light to product bountiful buds. Lighting schedule vary depending on growth stage, but you must provide at least 12 hours a day. Cannabis loves a warm and relatively dry environment with temperatures around 70-80 °F (20-30 °C) during the day. Cannabis specific nutrient products are best and often come in kits with appropriate mixtures for each stage of growth.
- Basil: Basil requires little space, and regularly flourishes on a window sill. It needs a minimum of 6 hours of sunlight a day or around 10 hours under fluorescent bulbs. It requires a warm environment, about 70°F (21 °C). Use a well-balanced fertilizer at half strength.
- Tomatoes: Small, indeterminate, and upright like Red Robin, Tiny Tim, and Patio
- Cannabis: Small, bushy varieties, hardy to disease and pests. Look for indicas and hybrids like Blue dream and GG4.
- Basil: All varieties are suitable for indoor growing, as they are all naturally small and bushy.
- Tomatoes: 2 to 2 months, depending on the variety
- Cannabis: 3 to 6 months, depending on the strain
- Basil: Roughly 2 months
- Tomatoes: Spider mites, leaf roll, and blossom end rot
- Cannabis: Spider mites and powdery mildew
- Basil: Fusarium wilt and bacterial leaf spot
Step 2: Choose Your Space
Where ever you live, a space large or small can house an indoor garden. While a New York City apartment might not have the capability to pump out baskets full of veggies, it could support a small kitchen herb garden. Furthermore, if you are willing to set aside living space, you can build out a closet or a corner of the living room into a cultivation area. Basements, attics, and insulated garages can also easily host indoor cultivation.
Keep in mind that more significant operations require more infrastructure. Growing a little pot of basil on your kitchen counter is much different than setting up a hot pepper factory in your living room. Furthermore, take into consideration that certain crops need lighting fixtures, fans, and other electronic monitoring equipment. Your grow room can get too warm for comfort and safety, and you'll need to manage the environment to avoid it.
Depending on what vegetable or herb you are planning to grow, you’ll want to do a little research. There are many prefabricated options out there, from lettuce boxes to cannabis grow tents. Commercial options make a good choice if you aren’t tool-savvy and want something easy to set up. They usually come with just about everything you need to get started, save for the seeds. They also remove many of the decisions, as they'll come prepared with lighting and hydroponic solutions, so you don't have to work out the details yourself.
But with that said, there are also a hundred-and-one build-it-yourself options out there. From building grow tents with PVC pipe frames, to robust shelving units, to complete vertical grow setups - you are in charge!
If you are getting started for the first time building your own gardening space, stick with something simple. Your plants need three things to survive: growing medium, light, and water. Your space should be able to support all three components. It should also safely support any temperature and humidity requirements. If it's going to get warm, make sure there is ventilation. If it’s going to be humid, make sure the area is mold resistant.
As a final note, most indoor grow operations require additional lighting beyond the sun. While a small herb garden may thrive on the window sill, most serious gardeners improve yields and harvest times by supplementing or replacing the sun with artificial lighting.
Step 3: Choose Growing Medium

By moving your garden indoors, you control all aspects of the growing environment - even the soil. Hydroponic gardening takes cultivation to the next level, but may not be the ideal solution for every newbie gardener. Consider the pros and cons of each option before making a final decision.
Pros of Soil Based Gardening
- Affordable
- Familiar medium
- More forgiving than hydroponics
Cons of Soil Based Gardening
- Increased risk of contamination
- Slower growing
- Requires more space
- Lower yields
Pros of Hydroponic Gardening
- Higher yields
- Faster growing
- More efficient system
- Smaller space required
Cons of Hydroponic Gardening
- More challenging to perfect
- More expensive
- Unforgiving
If you are a true beginner, it may be easier to stick to soil. It's familiar and requires less technical know-how. Soil is a bit more forgiving if you miss a nutrient feeding or a day of watering. In a hydroponic system, it requires a higher level of regulation. You have to stay on top of it daily.
If you choose to grow in soil, it is best to purchase a suitable soil mix from your local garden center. You can also mix your own, but avoid digging up the ground in your backyard. Soil naturally has a higher risk of bringing pests and disease from the outside to the inside. While commercially sourced materials aren’t completely foolproof, they are less likely to import these issues than your backyard dirt pile.
Research your crop of choice to determine what types of soil it thrives in. Look into three characteristics:
- Texture (Sandy, loamy, rich, dense, well-drained, etc.)
- pH Level (1 to 14)
- Nutrition (see Step 6)
Adjust soil drainage and texture:
- Perlite
- Vermiculite
- Sandy
- Compost
- Manure
Additives to adjust the pH level:
- Limestone
- Sulfur
- Concentrated nitrogen fertilizers
What if you’ve chosen to grow hydroponically? Check out an in-depth guide to common hydroponic systems to determine which one works for your space and level of technical know-how.
Most hydroponic systems, no matter what layout they use, will require a small amount of soilless growing medium. Soilless mediums are inert (you add the nutrients to the water solution), but allow the plant to anchor itself through its roots.
Common Soilless Growing Mediums:
- Sphagnum peat moss
- Perlite
- Coco coir
- Rockwool
- Clay pellets
Step 4: Choose Grow Lights
There are two primary grow lights used in commercial operations today: High-Intensity Discharge (HID) and Light Emitting Diode (LEDs). The way of the future is definitely LED, but many growers continue to rely on conventional HID systems because of their intensity, affordability, and performance. That said, commercial cannabis operations often supplement the final flowering stages of growth with a shot of LED light.
For small, at-home setups a small LED grow light is perfect. The prices have come down in recent years and the quality drastically improved. An LED lighting system will pay off in the long run, compared to an energy-sucking HID. LEDs consume far less energy compared to their HID cousins. Roughly speaking, you should see a 40 percent difference in energy consumption between the two. Some crops need a 24 hour light cycle - consider the energy savings!
Another concern is the heat expressed by a standard HPS lamp. Even a 250W HPS lamp requires ventilation of some sort. Because you are likely growing inside your home, and not a purpose-built space, heat is a primary safety concern. If your budget only allows for an HPS system, ensure you are also accounting for additional ventilation.
Because you are operating a small indoor garden, and perhaps using a grow-tent out of the box - you’ll likely settle on an LED system. How do you choose the right size LED for your garden? Generally, most suppliers of LED grow lights recommend 32 watts per square foot. Thankfully, any reputable LED grow light company lists suggested grow space under the specs for each product.
Step 5: Choose to Start Seeds or Plant Clones
With the lights in place, the soil dug in, and the space ready for planting - what will you plant: seeds or clones? While cannabis is perhaps the most famous cloned crop, many other vegetables make good clones as well. Basil, tomatoes, and peppers are only a few easy examples. If you have access to vegetable starts, you can begin cloning right away. Otherwise, you too will need to plant the first few seeds to get started.
Pros of Seeds:
- High diversity of stock available
- Long shelf life
- More affordable
Cons of Seeds:
- Slower to reach harvest
- Inconsistent germination rate
Pros of Clones:
- Faster to harvest
- Consistent crop
- Predictability
Cons of Clones:
- Higher risk of disease
- Plant are less hardy
- Limited to locally available stock
- More expensive than seeds
If you choose to start with seeds (and many do) you will likely need to set up a germination station to speed up the process. A germination station needs a small domed seed tray and a heat mat. To avoid false starts, perform a quick germination test on the seeds before planting. Discard any seeds which do not germinate or whose initial leaves are sickly.
A germination test is quick and saves disappointment later on. Dampen a paper towel with water, and place the seeds inside the crease. Fold over, tuck inside a plastic bag, and leave in a warm area for up to 10 days. Keep the paper towel moist, and check progress every few days. Remove and plant the successful sprouts as you go.
If you choose to use clones, always source from a reputable supplier to avoid bringing contamination into the grow room. You can also gently wipe down clones with a mild, soapy mixture before entering into your grow space to remove lingering powdery mildew or pests.
Pro Tip: Keep a gardening notebook handy throughout this process. Track dates, lighting conditions, and variety of seed or clone. These notes may seem like overkill during your first crop, but for future they are critical. With notes on what worked best, you'll improve harvests, perfect growing conditions, and choose favorite strains.
Step 6: Source Appropriate Nutrients & Fertilizers

Your garden needs six things to survive indoors - and you are in charge of all for them. The first three we have already covered through the growing environment:
- Oxygen (from the water and air)
- Carbon (from the water)
- Carbon dioxide (from the air)
The next three come in the form of additional nutrients and fertilizers. They are as follows:
- Nitrogen (N)
- Phosphorus (P)
- Potassium (K)
These three are always prominently referenced on fertilizer packages based on their comparable ratios: N-P-K
While an outdoor grower can rely on the soil to some degree for these nutrients, soil-based indoor growers absolutely need to supplement their crops. In the indoor garden, you mix nutrients into a water based solution for regular feeding. In hydroponic systems, the nutrients go straight into the water reservoir.
Each crop will have highly specific fertilizer requirements, and it's best to do your research beforehand. If you are growing a popular plant, like tomatoes or cannabis, there are often premixed formulas ready to go. Otherwise, look into what N-P-K ratio your crop needs before dumping a load of inappropriate nutrients into the system.
N-P-K ratios refer to the specific ratio of nitrogen, phosphorus, and potassium. Here are a few examples of what our three crop examples from above need:
- Tomatoes: 5-6-5
- Cannabis: 2-1-6 (vegetative stage) and 1-5-4 (bloom stage).
- Basil: 14-14-14 (diluted)
As you see with the cannabis example, some plants flourish with slightly different ratios in different stages of growth.
Pro Tip: It’s highly recommended to purchase all your nutrients from the same company. Nutrient brands invest heavily in creating the perfect mixture of nutrients, which work together from seedling to harvest. Its vital to keep it consistent.
There are additional micronutrients that your harvest could require such as magnesium, sulfur, and calcium. These are less critical to the survival of your garden but may boost yield and improve plant health.
Step 7: Schedule Accordingly
Every vegetable, herb and flower have different stages of growth which almost always require slight adjustments to light, nutrients, and temperatures. As an indoor grower, you are responsible for managing this schedule to get the most out of your harvests. Certain adjustments are also required to force plants to flower in an indoor environment.
The cycle you create indoors mimics the seasonal cycle outdoors. In the spring and summer, plants focus on vegetation - or bushing out. They grow bushier, with more leaves, which capture more of the sun's rays. This comes in handy when they need to feed the flowers and fruits later on in the fall.
When the fall comes around the days get shorter, the spectrum of light shifts towards the reds, and the plants shift into flower. Depending on what you've planted in your indoor garden, you may choose to send the plants into flower or not. You’ll want to focus on vegetative growth in leafy greens and herbs, but flowers and fruits in cannabis and tomatoes.
If we look at tomatoes, cannabis, and basil, here are their requirements for lighting schedules (depending on the stage of growth):
- Tomatoes:
- Vegetative stage - 18 to 24 hours of light a day.
- Flowering stage - 12 to 13 hours of darkness a day.
- Cannabis:
- Vegetative stage - 18 to 24 hours of light a day.
- Flower stage - 12 to 13 hours of darkness a day.
- Basil:
- Vegetative stage - 8 hours of light a day. Sunlight is often enough, but artificial improves yield.
Step 8: Learn to Prune or Train Your Plants
While you can let your indoor garden grow unrestricted, it’s best to prune your plants to fit your indoor environment. Not only does pruning size the plants to the growing space, but it also boosts yields as you force the plants to focus on productivity instead of lower leaves and stems.
Almost all plants benefit from specific growing and pruning techniques. The exceptions are certain herbs and green leafy vegetables like lettuces, arugulas and the like. If you have your lighting schedule on lockdown, these will grow continuously in the vegetative stage. Unless they accidentally bolt, you will never need to prune.
Vegetables like peppers, tomatoes, and vining plants benefit from topping in the early stages to promote outwards, not upwards growth. Secondly, you’ll want to trim the suckers. Suckers are the little branches of new growth which shoot up in the middle of the “V” that forms between two branches. If left to grow, suckers literally suck-out energy from the fruits and flowers you are hoping to produce.
Pruning and training cannabis is critical to growing indoors, but every grower tends to have a preferred technique. Training forces the plant into the garden space you’ve created, and pruning focuses the energy into bud production. Ultimately, it's up to individual preference.
Cannabis pruning is the process of removing all non-productive and non-essential parts of the plant. This may include the lower branches and fan leaves. Lollipopping, super-cropping, and FIM are all examples of pruning techniques which encourage sideways growth instead of upwards growth. SCROG is an option for training your plant into a “Screen of green.” There is no right or wrong way to prune your plants but do a little research beforehand on timing and technique to reap the highest yields.
Step 9: Harvest Time
The most exciting time for your indoor garden is harvest time. If you are growing microgreens and lettuces, harvest time comes in only a few weeks. For tomatoes, peppers, and veg, harvest time may be months away. But harvest time is also a cause for celebration!
Each variety of herb, vegetable, or cannabis will eventually reach peak readiness. If you harvest before, you'll find you have sour fruits, less nutrient dense produce, and unpleasant textures. On the other hand, if you harvest too late, veggies are prone to rot, degradation, and shorter shelf life.
Some crops must be harvested all at once - cannabis is a prime example. Other vegetables, like peppers, tomatoes, and other veg are easily grazed. Pick a few tomatoes today for dinner, and a few more tomorrow for lunch. Smaller indoor gardens also facilitate grazing, as you’ll likely have only a handful of fruits ripe at any given moment. Larger productions may require forward thinking. If you are facing a mountain of tomatoes, you may need to pick, preserve, and store for later use.
What about herbs? Many herbs provide consistent bounties like lavender, sage, rosemary, and thyme. They may flower, but it doesn’t affect their edibility. There isn't a right time to harvest these varieties, and they should provide all year round.
A final pro tip on harvesting! Once you harvest your first crop, you’ll want to clean and disinfect the tools, pots, and surfaces of your little indoor space. A quick cleanup prevents any contamination from one crop to the next - and sets you on the path to future success!
Step 10: How to Properly Store, Cure and Enjoy

Once harvested, you must either use the product immediately or preserve for later use. Fruiting veggies have a few options, like pickling, freezing, canning, or drying. Some herbs also work well frozen (like basil pesto), but most will require drying.
Harvest the edible part of the herb (leaves, sometimes stems). If you don’t have a dehydrator on hand, don’t worry! You can quickly dry in a well-ventilated space. So long as the area is relatively dark, dry and warm, drying herbs is easy. Try the stems together using kitchen twine, or layout leaves in a single layer in a mesh drying bag. Hang in a closet, pantry, or other space and leave undisturbed until brittle to the touch.
Store herbs in airtight glass jars, away from direct light if possible. Sunlight will eventually deteriorate the terpenes (flavor) of the herbs. Use herbs within six months for best flavor, although up to a year is fine. Do not freeze dry herbs, as the freezer alters the moisture content in a way that could foster mold growth or freezer burn.
Drying and storing cannabis requires slightly different techniques than culinary herbs. Cannabis requires both drying and curing before you can store it long term. Curing cannabis requires a controlled environment, but it does improve the value of the final product. By prolonging the drying process, you'll find an improvement to the flavor and cannabinoid profiles.
In a well ventilated dark space, hang cut cannabis branches on strings or coat hangers. Set the room between 60-70°F and the humidity around 50 percent. You’ll also want to set up a fan or two to make sure the area is well ventilated, and all sides of the flowers start drying out. Just don’t point your fans directly at the drying buds. Depending on the initial moisture content, this process should take about 5-10 days.
Once dry, you’ll want to trim and cure the flowers. Trim down until only the flowers remain, and place in an airtight container. In the first week, open the container several times a day - a process called burping. After the first week, you’ll only need to open every few days. The process takes up to eight weeks to complete.
Once fully cured, store the flowers in dark, airtight glass jars. Just like with culinary herbs, sunlight and oxygen exposure damage the final product. The flavor and cannabinoid profile will slowly deteriorate over time.
A Final Note on Indoor Gardening
As you can see, indoor gardening isn’t difficult. There may be a lot of steps, but they are logical. Indoor gardeners are the masters of the cultivation environment. As you plan the space, prepare the environment, and plant your crop, remember you must provide everything they need to survive. With a bit of research and a little practice, you can start a super successful indoor garden in no time at all.